Gallery Quality Wall Art
Number Prints
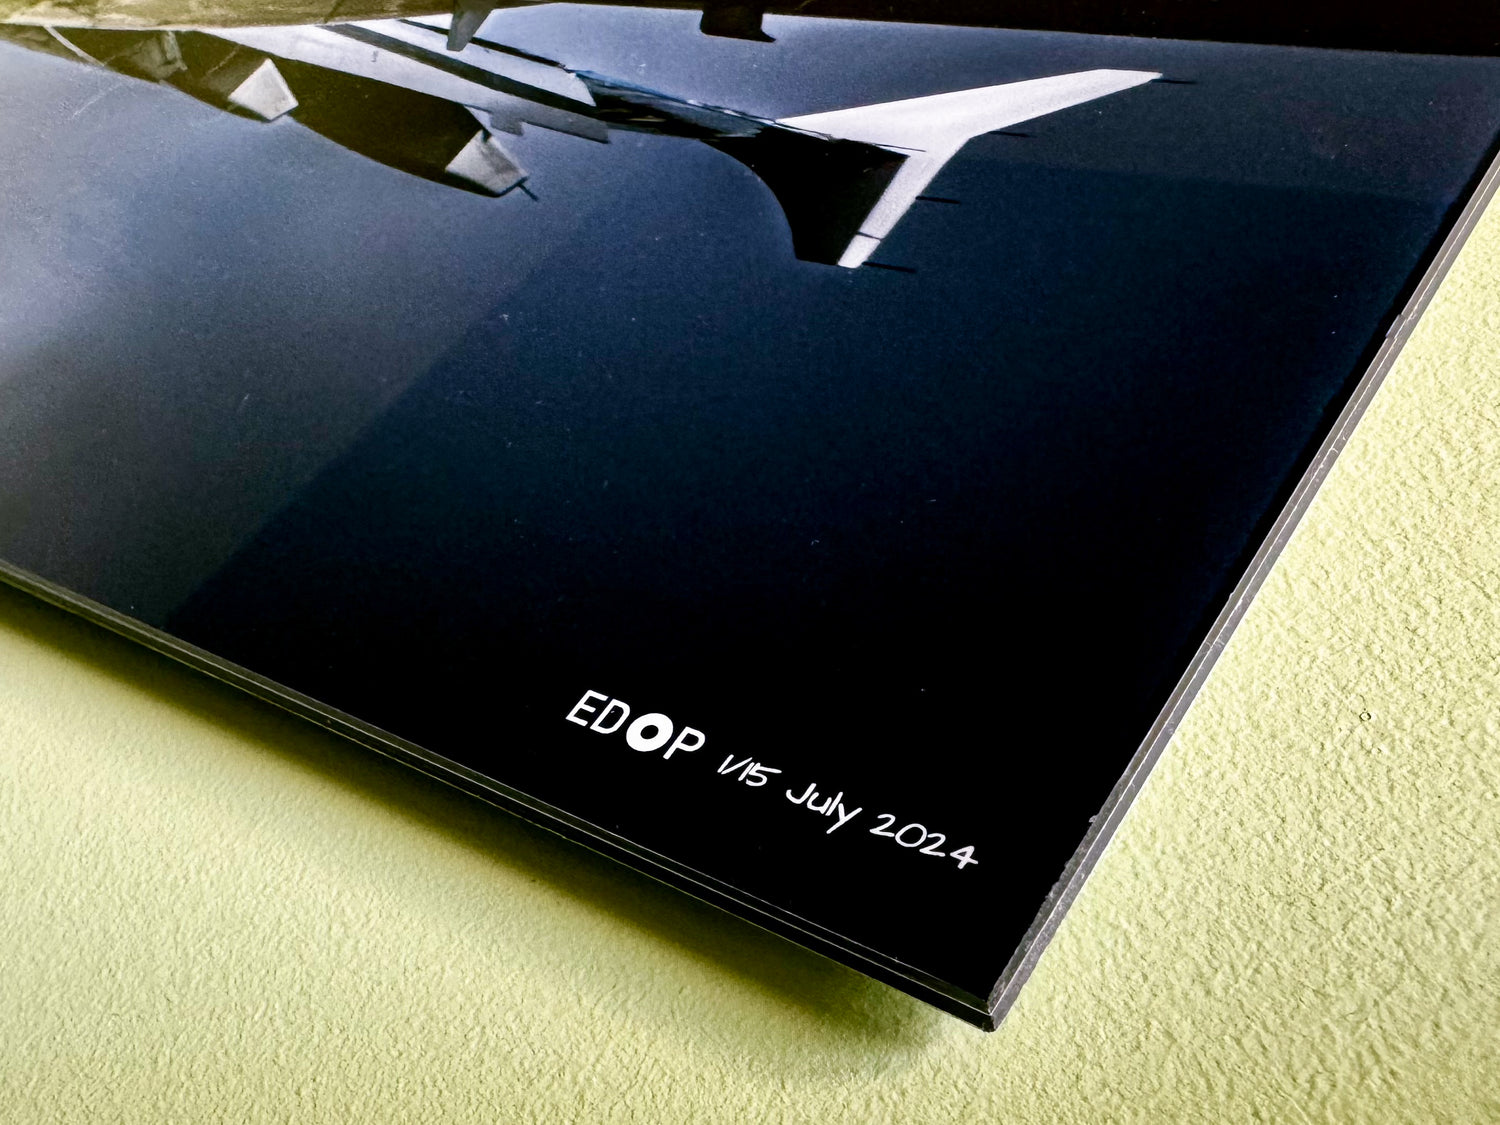
Own a rare Limited Edition numbered print, one of no more than 10 pieces.
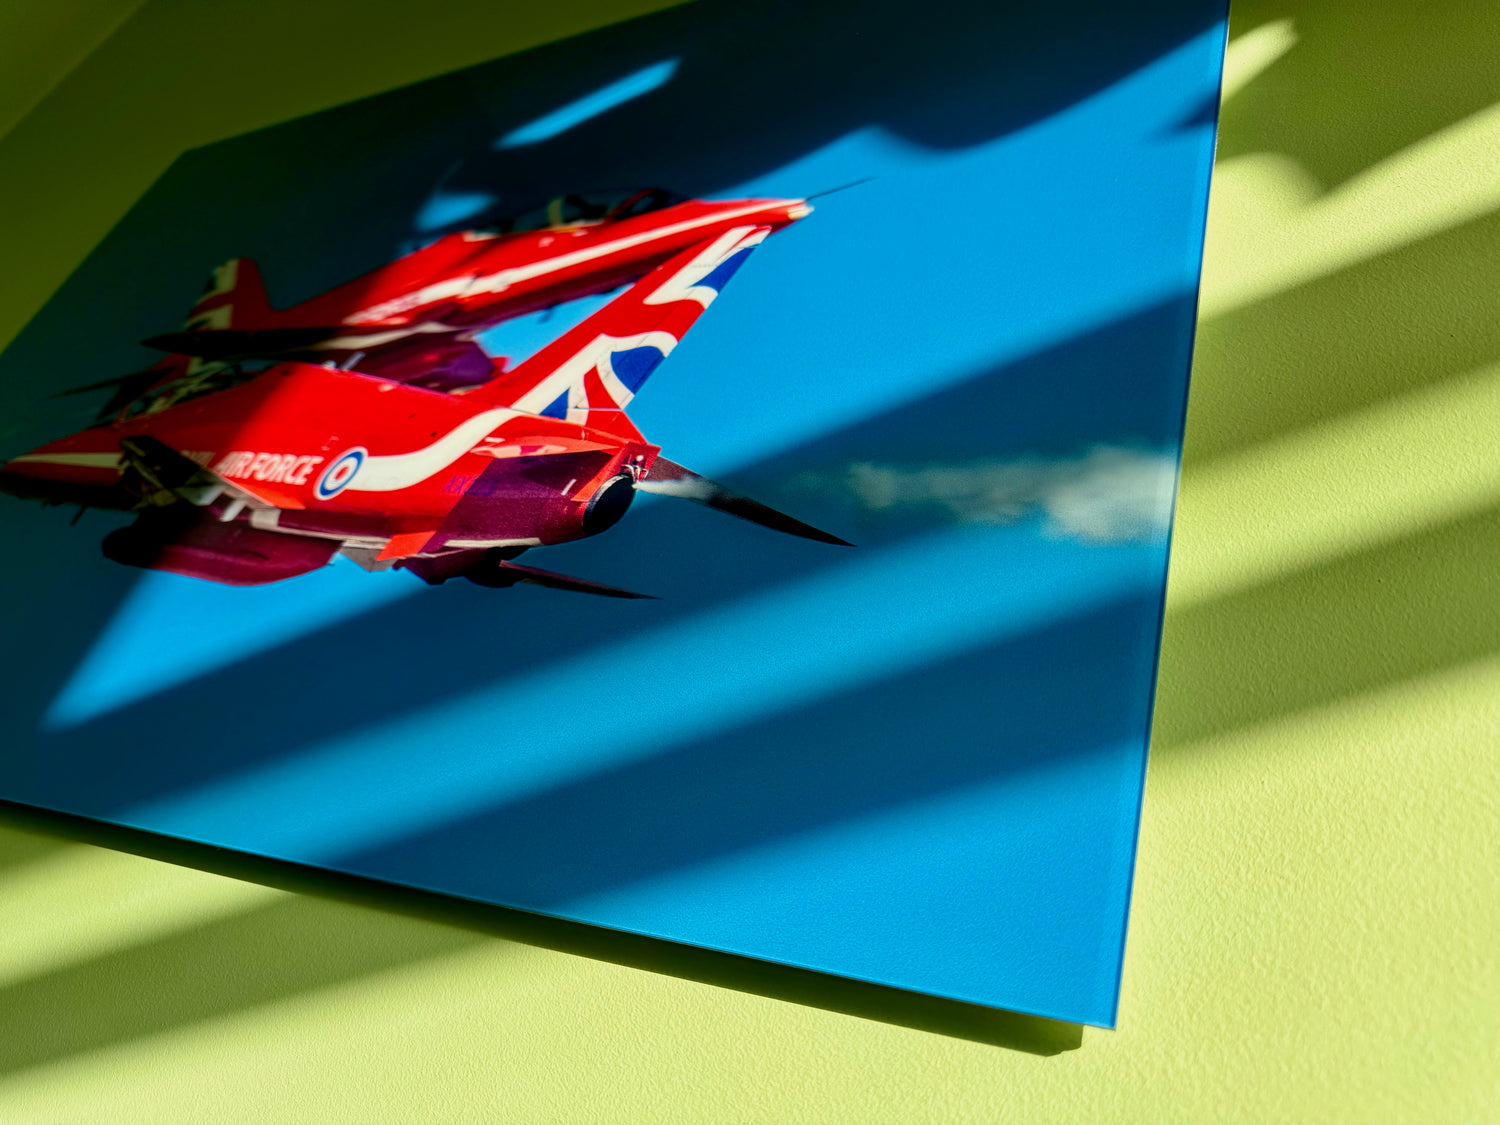
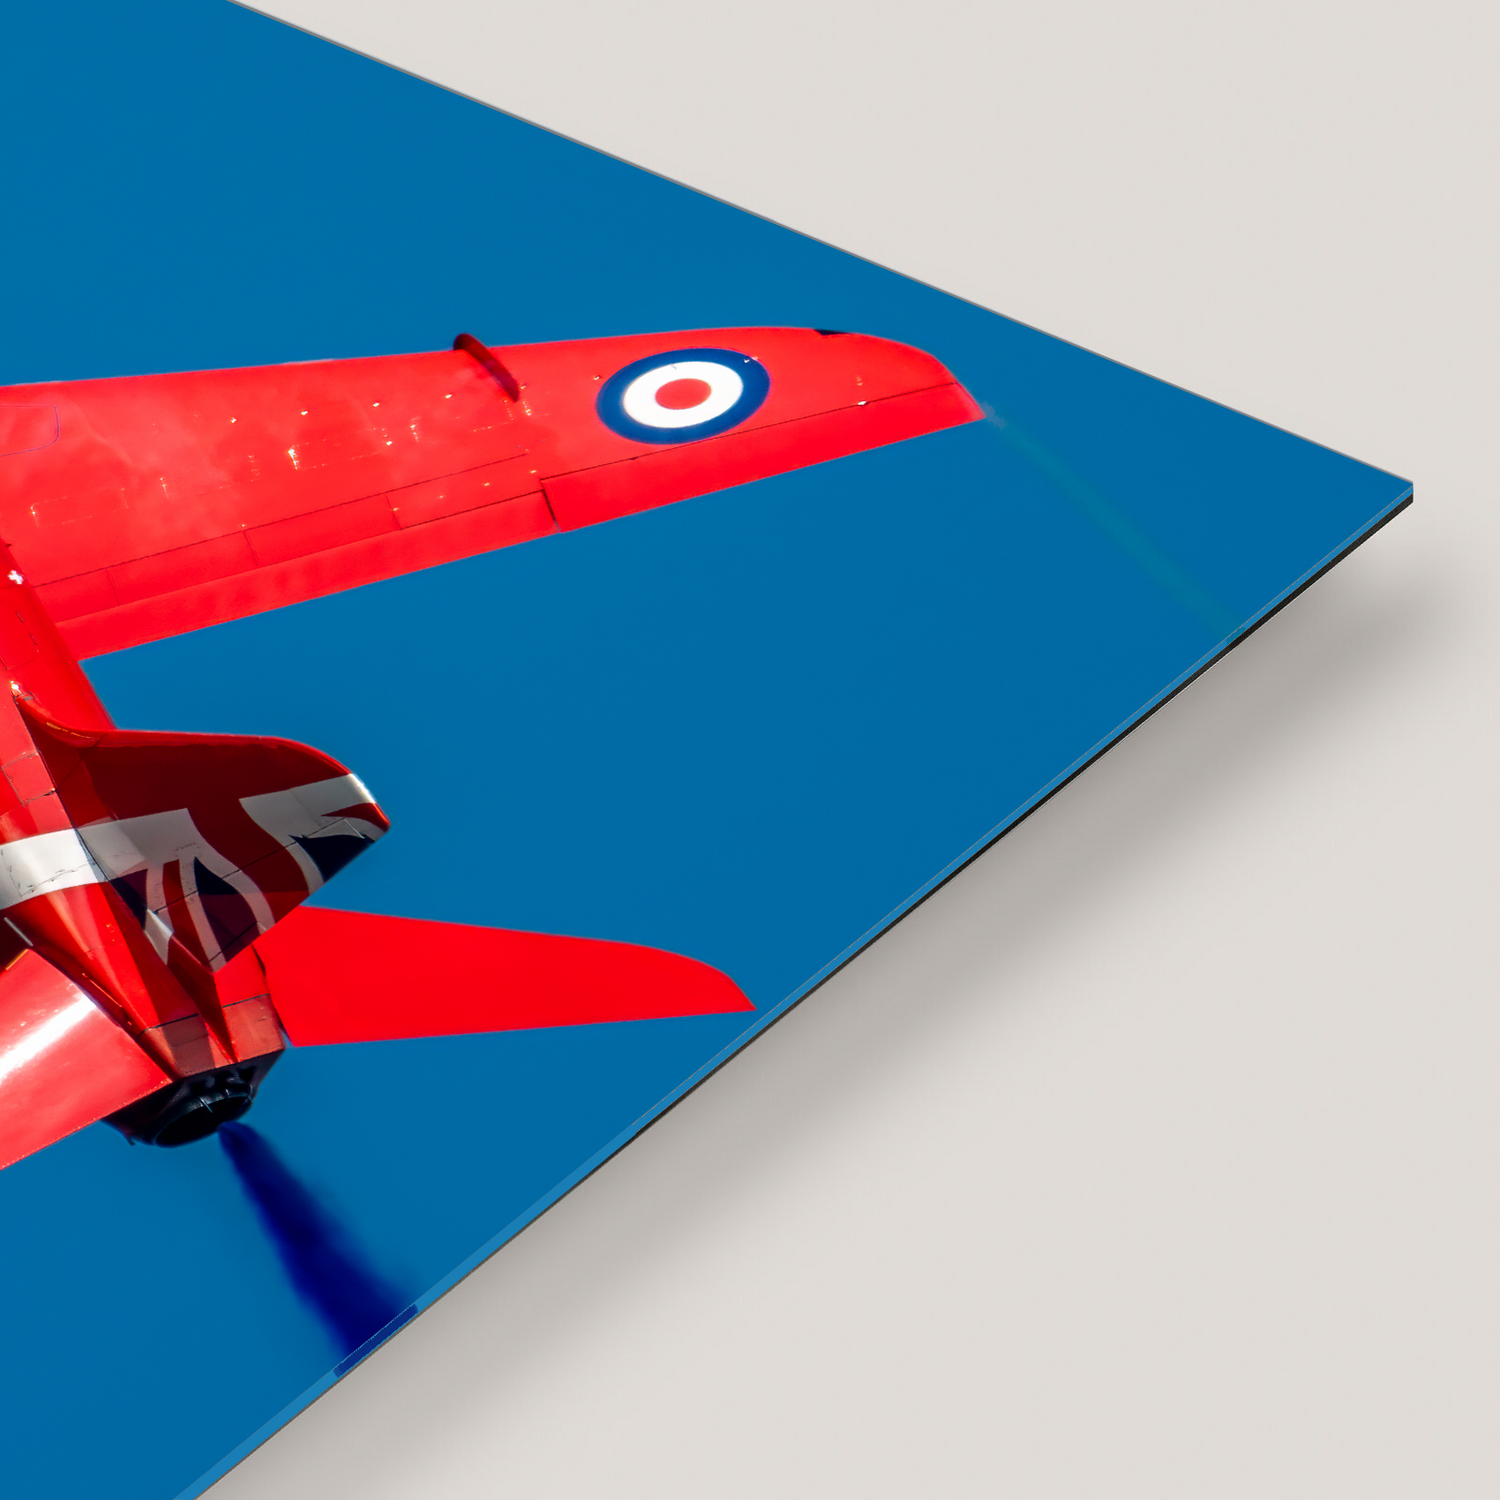
Floating Wall Art
A 10 mm aluminium frame creates the stunning illusion of your Art Work floating on your wall.
High Resolution
Vibrant colours and unmatched clarity and due to an advanced 7-colour UV printing technique directly onto acrylic
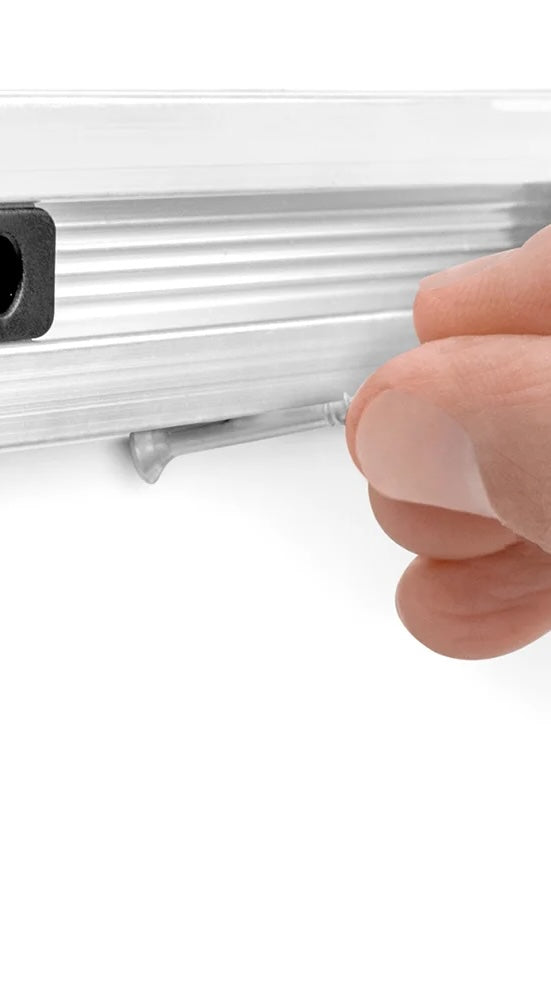
Assembly instructions
With the aluminium subframe you can quickly and easily attach your Wall Art to the wall. Depending on the type of wall, you only need two nails or screws to hang the rail. Eyelets or similar fastening aids are unnecessary.
Materials required:
- Your Wall Art with the subframe installed
- A pencil
- A level (optional, but useful)
- A tape measure
- Two nails or screws (consider the weight of the wall art)
- A hammer or screwdriver, according to your chosen fastener
First, decide on placement and measure the distance between the two points on the aluminium subframe where your screws or nails will go.
Also measure the distance from the top of the art to these points.
Using the centre point you’ve decided on, measure and mark the two spots where the screws or nails will go into the wall.
Check with a level to see if the marks are even.
Then, carefully hammer the nails or screw in the screws at the spots you marked. Leave a small portion protruding from the wall to hang the subframe on.
Do not yet make them tight against the wall as you may need to adjust the protruding length to accommodate the depth of your subframe.
Carefully position the Wall Art so the nails or screws align with the holes on the aluminium subframe. Lower it slowly onto the nails or screws.
Job Done!
Your Wall Art is now hanging on the wall.